Dynaflex II Go setup guide for iPads.
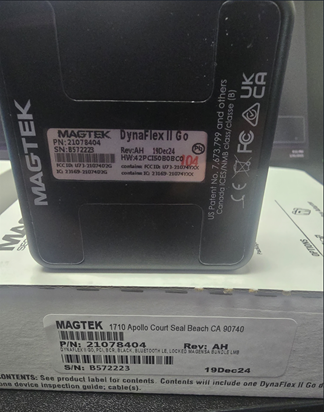
When unboxing the new reader, you will need to keep track of the serial number of the device as you will need this during the paring process.
Next, you will need to plug this device into a station with a build of 3.6.2.X or higher to download the configuration file to the device. During this process, the device will blink and make several audible sounds. Once this has been completed, you will see the device displaying the charge indicator blinking.
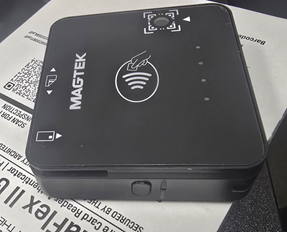
Next step once this is completed is to place the reader in paring mode. To achieve this, make sure the device is powered on, then hold the button on the left side of the device until you hear 4 beeps and let go. At this point, the fourth light will begin blinking, indicating it is in pairing mode.
Open the iPad and sign in, navigate to the more tab and click the DYNAFLEDIIGO tab. <This may be red or a purple color>

If this is the first time attaching a reader to an iPad you will be prompted with 2 request for permissions; allow both request.
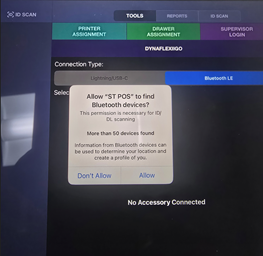
Once here, select the Bluetooth LE tab. <Note: it may take several seconds to populate the devices available to the list.>
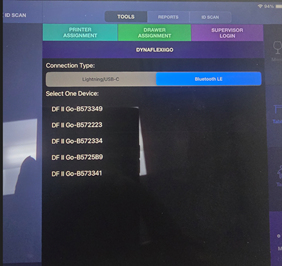
All available device near by will be listed here, locate the serial number of the device you are attaching and select it.
Upon selecting it, a few seconds later a dialog box will appear, verify that the correct serial number is listed, and click PAIR. <NOTE: There is no password to input.>

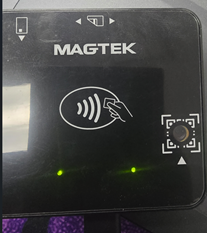
Once this has been done, you will notice the reader will blink, then display 3 lights on. <NOTE: If the device is currently plugged in and charging, this may quickly return back to the state displaying the current charge.>
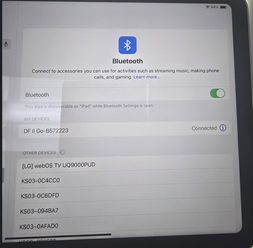
Next, check to make sure the device is now showing as connected under the iPad settings. It will be displayed as the serial number of the device you just attached. If it is not connected, please click it to connect.
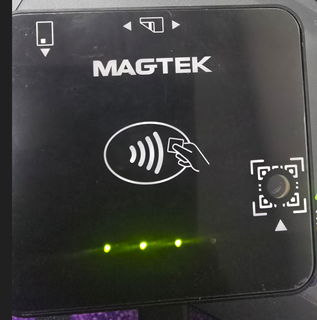
You are now ready to test the chip reader.
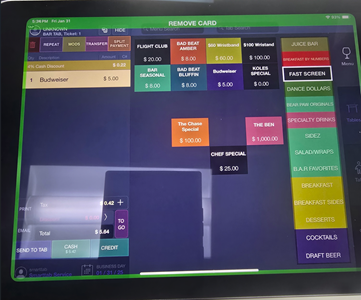
Close the SmartTab application fully and relaunch it. You can add an item to start on a tab, or simply just tap the card to create a new tab.
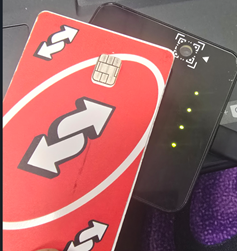
If this test is successful, you will see the border of the screen change to green, orange, or red if the reader was unable to capture the information of the card. If the border does not change, you have skipped a step.
Note: At the time of writing this, the configuration update when plugging into a station only happens the first time. This may change in the future as new configurations are needed.