Prerequisite: This function must be completed from the station itself that you are attempting to add the printer to
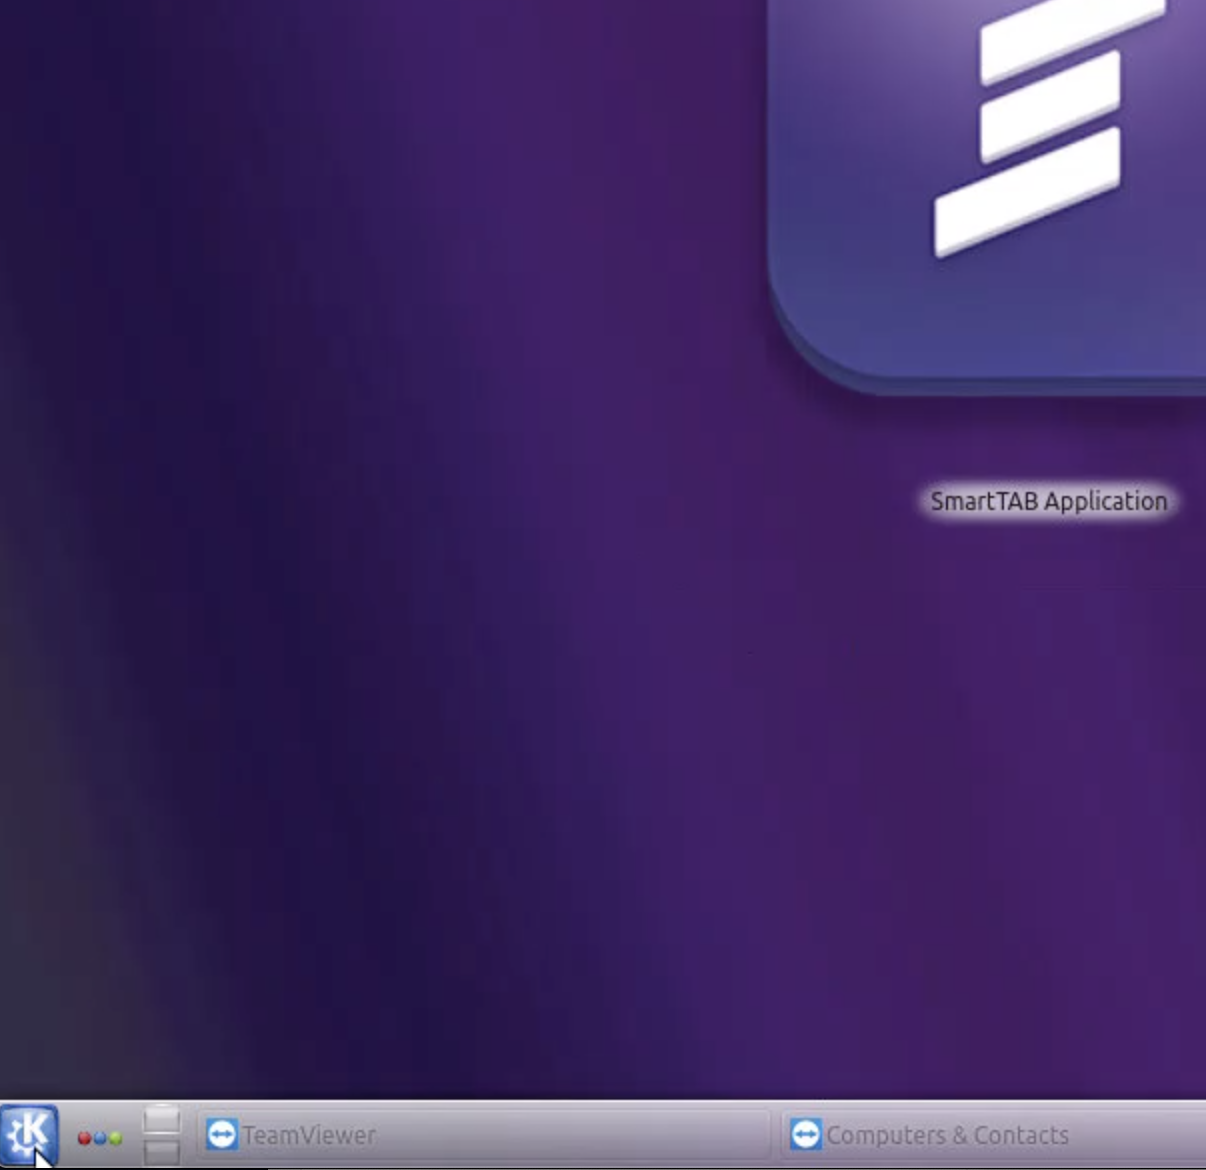
Step 1
On the station desktop (with the software closed) click on the “K” icon in the bottom left corner
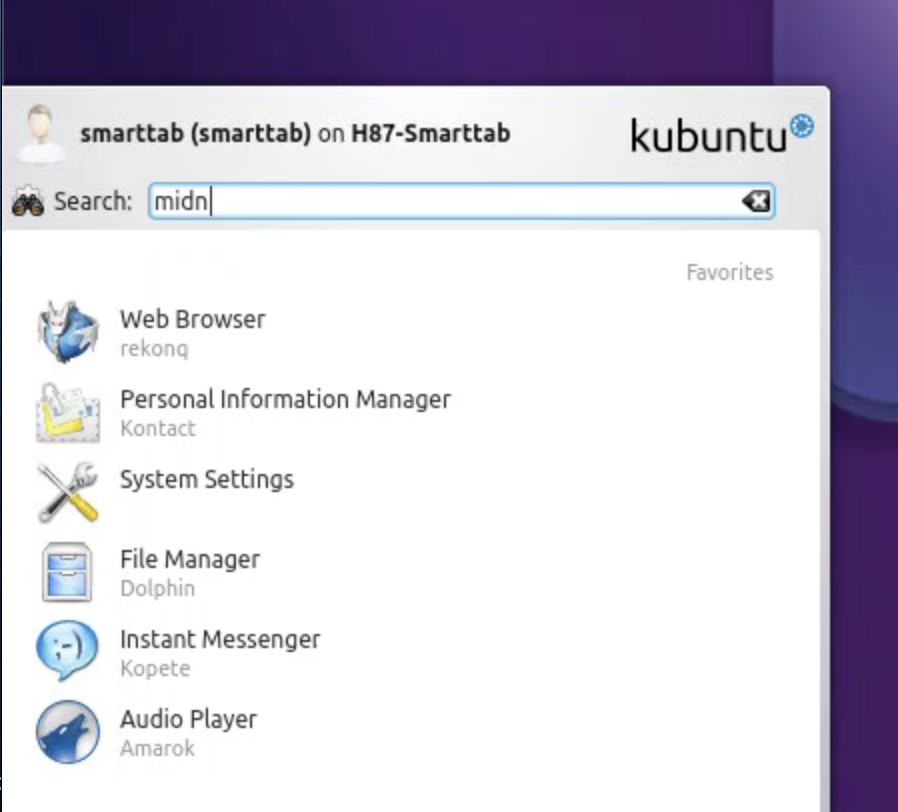
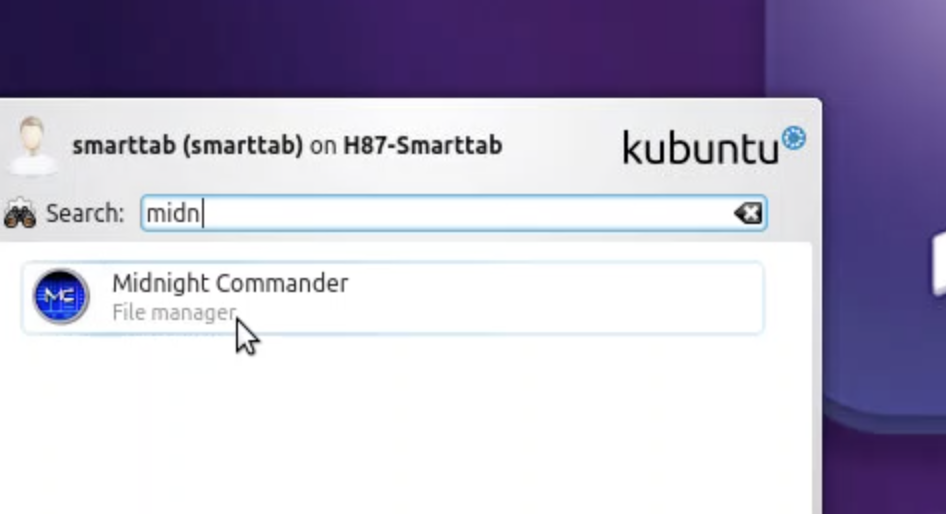
Step 2
In the search bar, begin to type “Midnight Commander” before you are done typing the icon for this application will appear, open it.
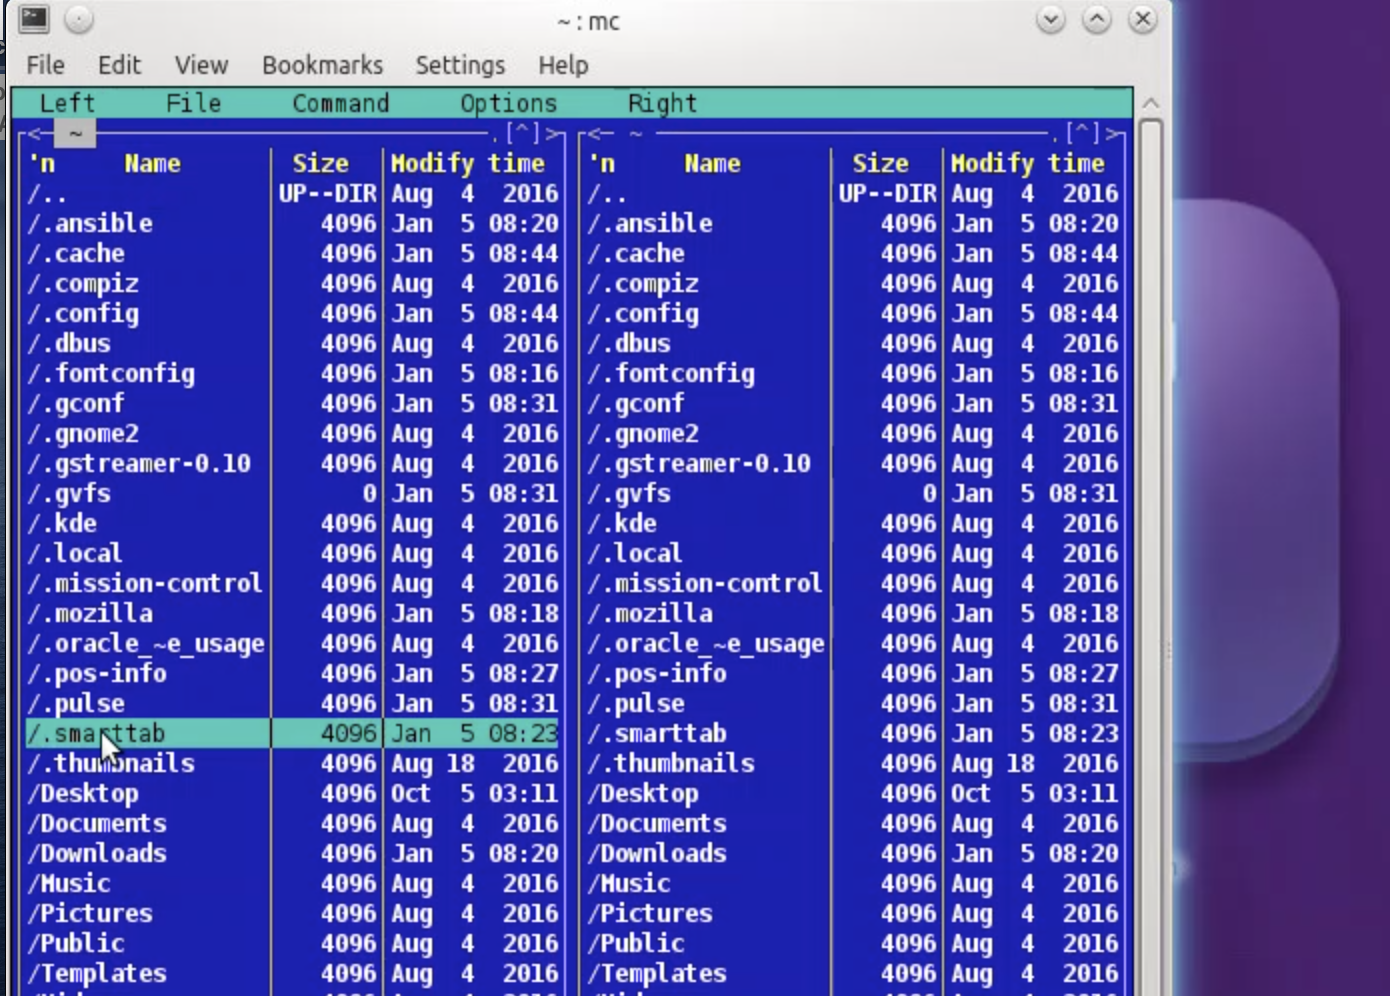
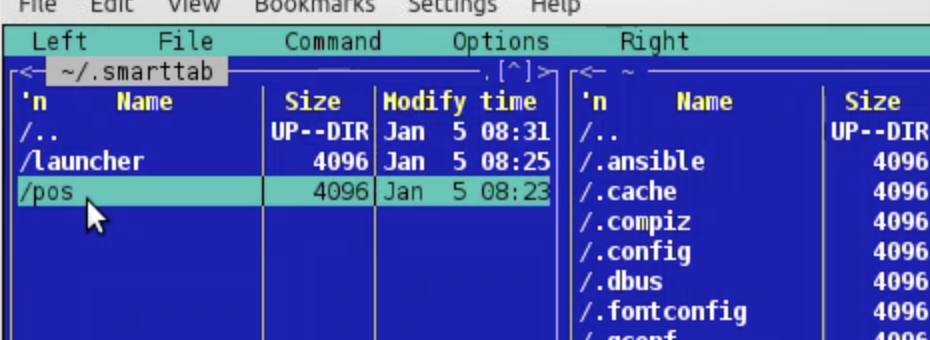
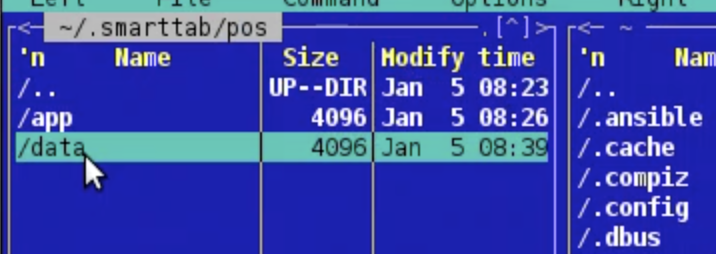
Step 3
Once the application is open, navigate to the “/.smarttab” file pictured, then select the “/pos” file, then click “/data”, and finally select the file labeled Supported Printers.cfg, it may appear as “support-ers.cfg”

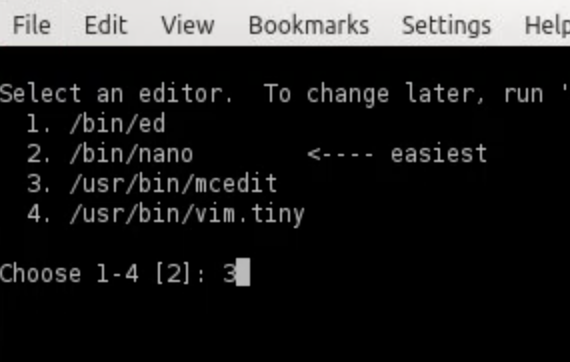
Step 4
Select the editor option #3 “/usr/bin/mcedit”
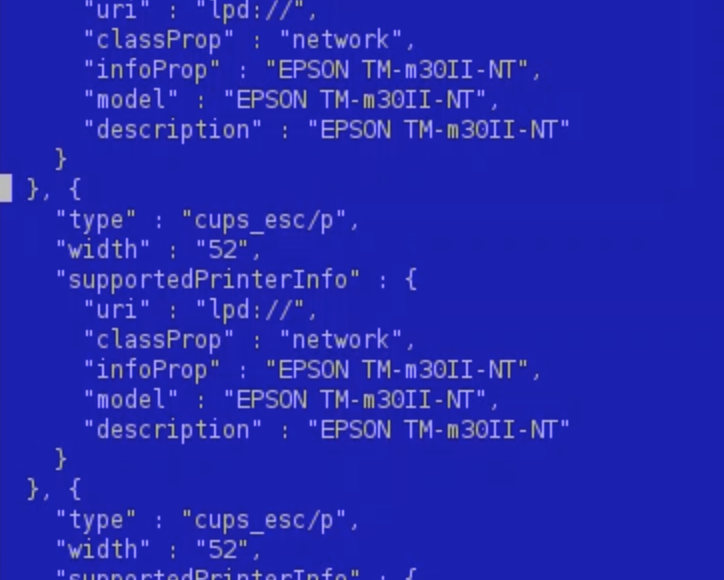
Step 5
Scroll down to the model number that is most like the model you are trying to add, highlight the selection and copy it to the clipboard
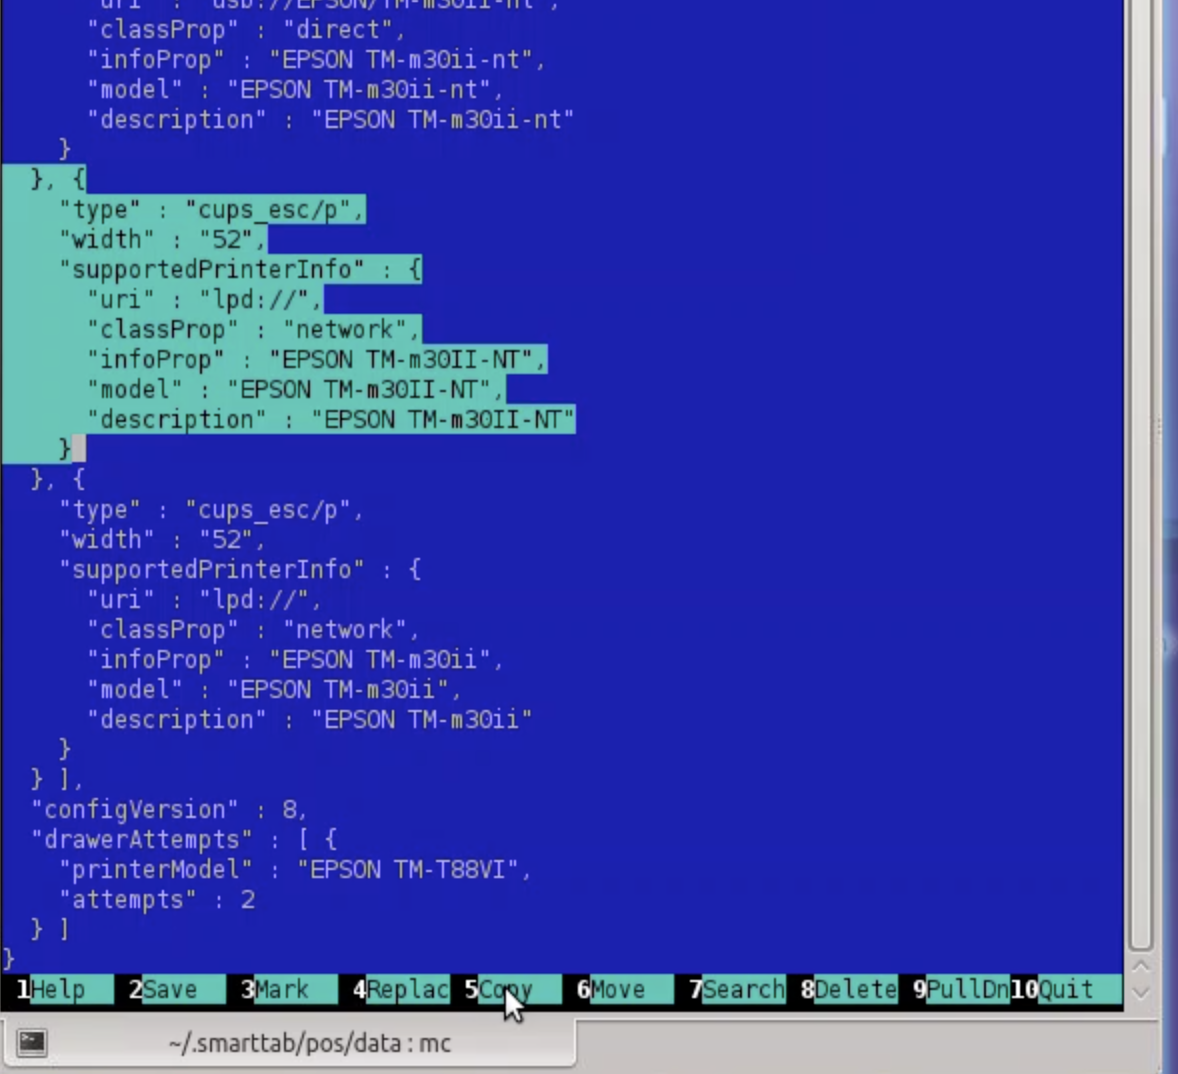
Step 6
Paste it under and press enter or use the space bar to make sure the formatting is matched as above
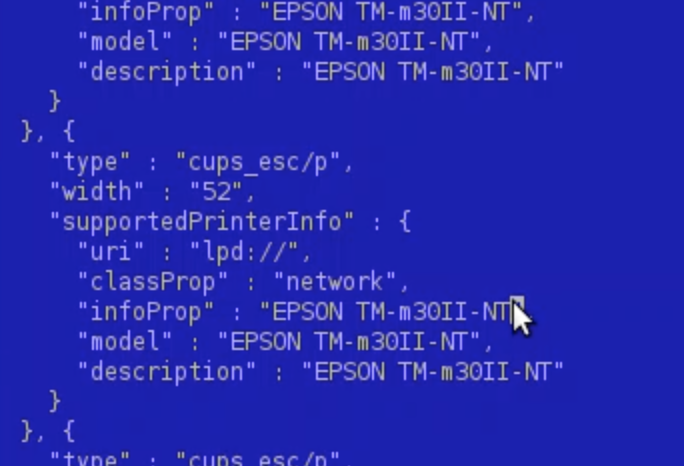
Step 7
Delete the model name and change to the model printer you have
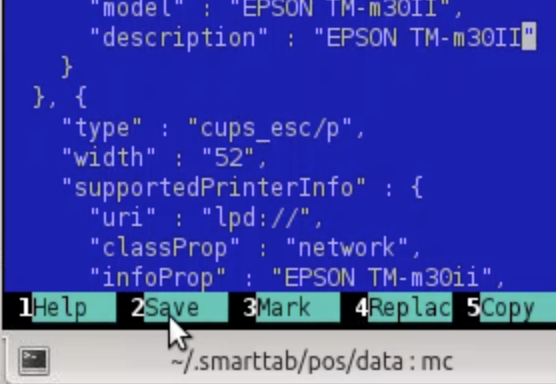
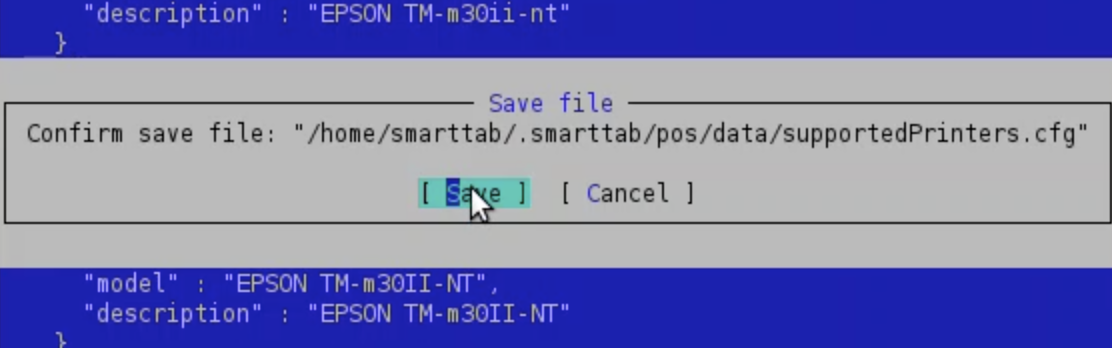
Step 8
Click save at the bottom left of the window and click save to confirm the change
Step 9
Start the SmartTab software and navigate to the printer settings section under “more”
Step 10
Use the drop down menu and the printer you added will now be avaialbelt o choose from.
