Step 1
Log into the back-end Portal (URL varies by Venue)
Step 2
Select the hamburger menu at the top-left of the screen
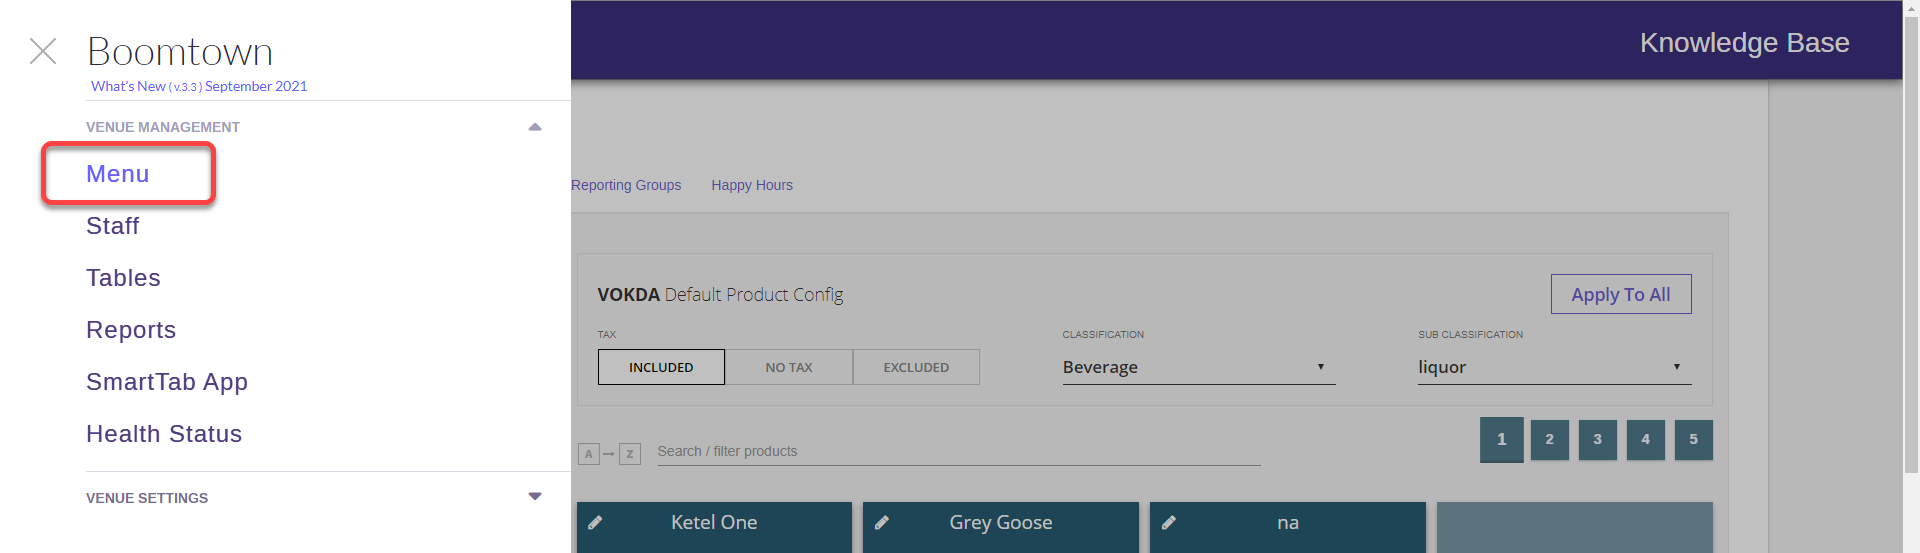
Step 3
Select Menu
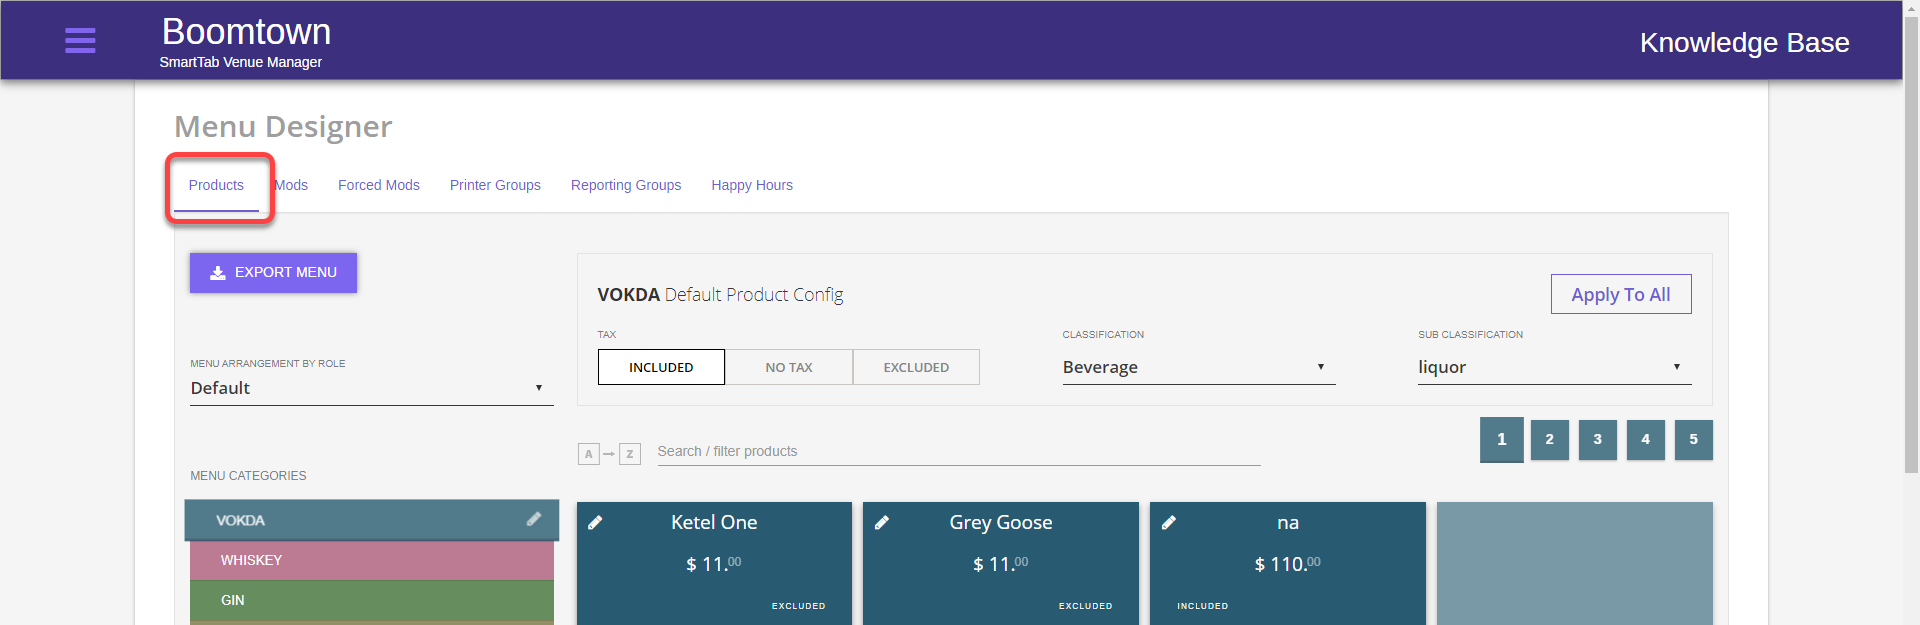
Step 4
Select the Products tab at the top ( products is selected by default)
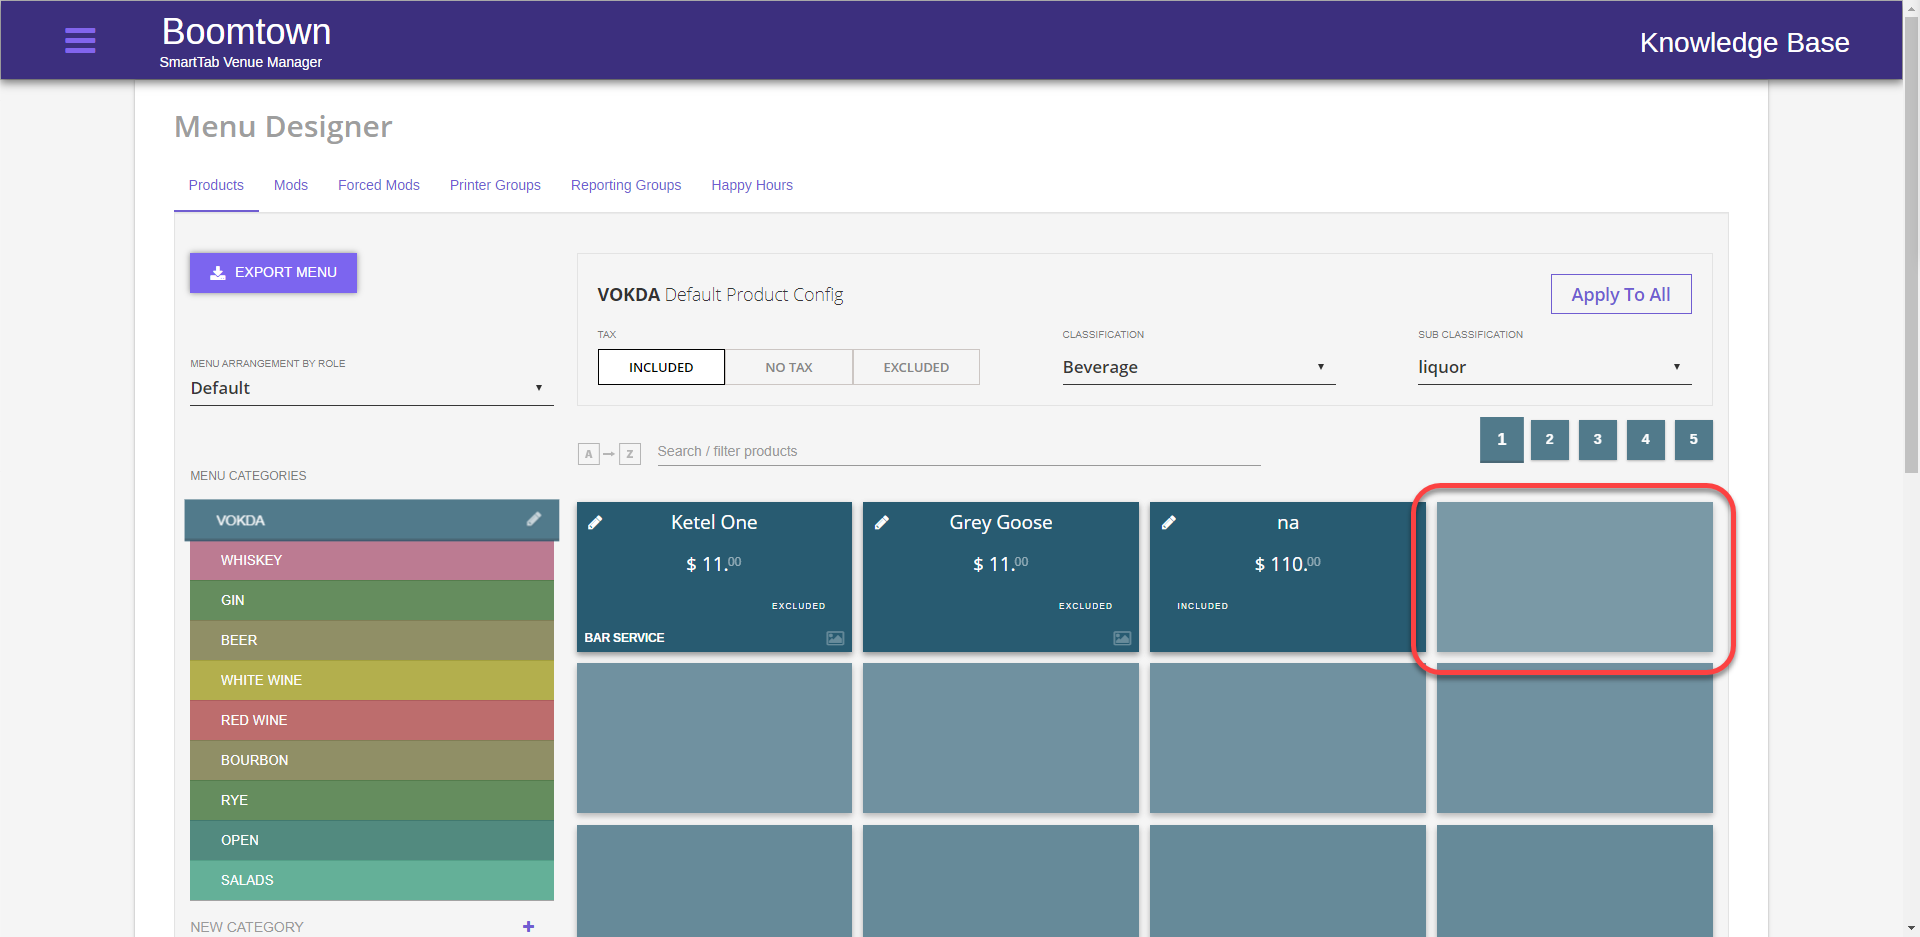
Step 5
Select the Category to which you want to add the item

Step 6
The Category and its items will display
Step 7
Double click on an empty square to add the item there
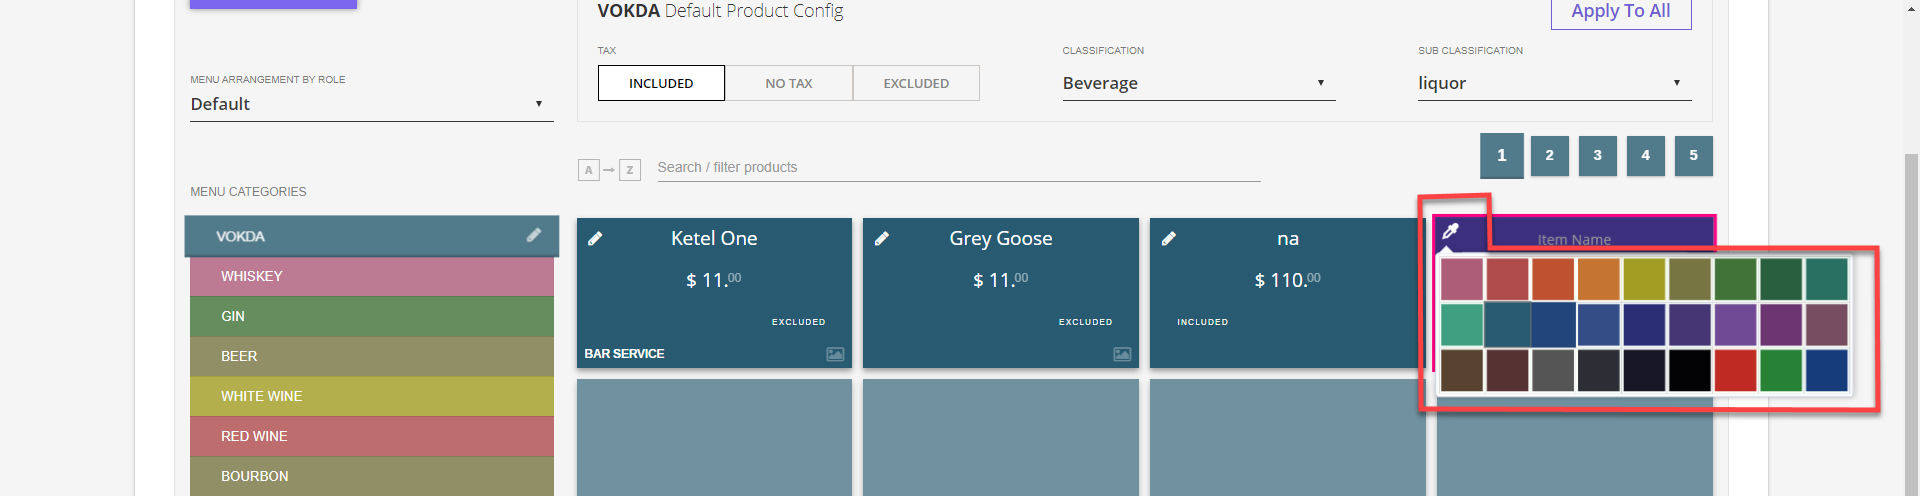
Step 8
Enter an item name, item price, and set the tax rule of the item

Step 9
Customize the color if desired
Step 10
Click the checkmark when done
Step 11
The Item will be created
Step 12
Click the title of the item to bring up additional option
1.Under the product config tab you can update the item’s photo, chit name, receipt name, classification, sub classification, the report classification, ingredient type, brand, serving size, unit size, and unit cost. The serving cost will calculate.
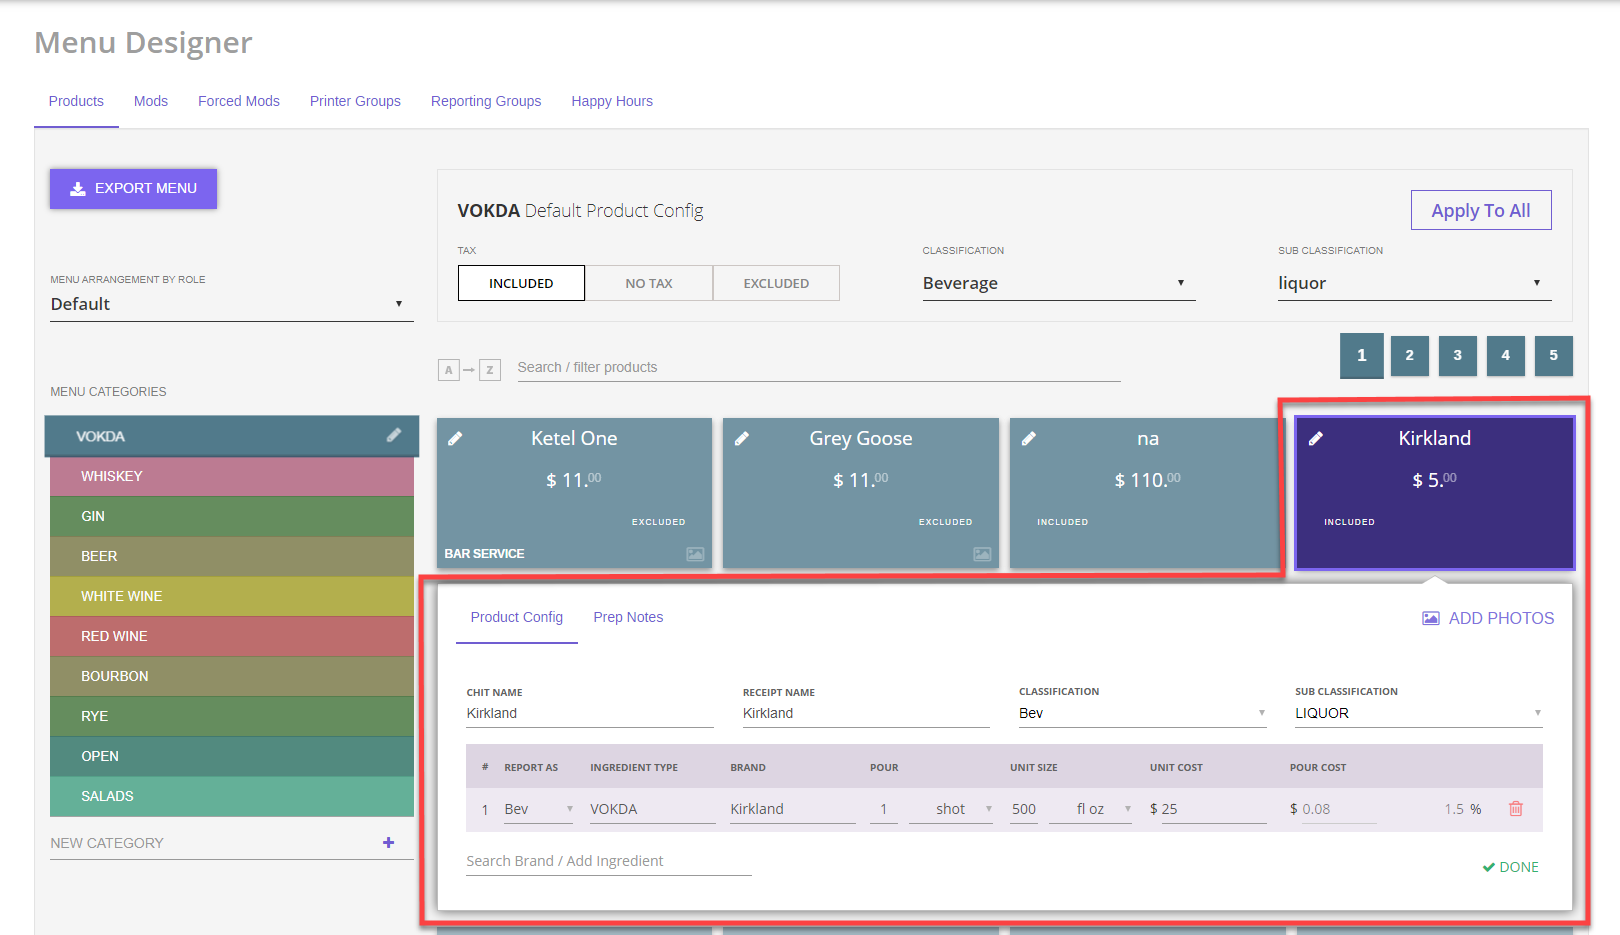
2.Under the prep notes tab you can add additional information about the items preparation ( options vary by classification)

3. Press Done when finished