How to Create Tables
Step 1
Log into the Back-end Portal (URL varies by merchant)
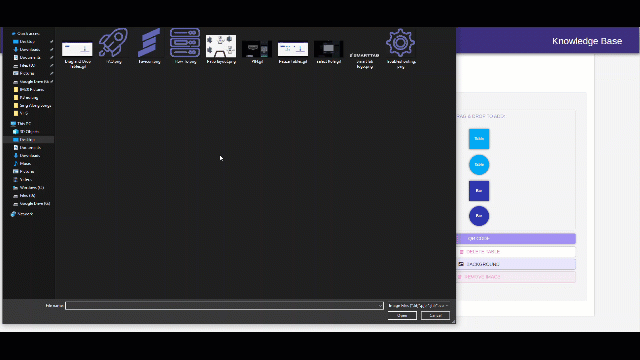
Step 2
Select the Hamburger menu on the top-left
Step 3
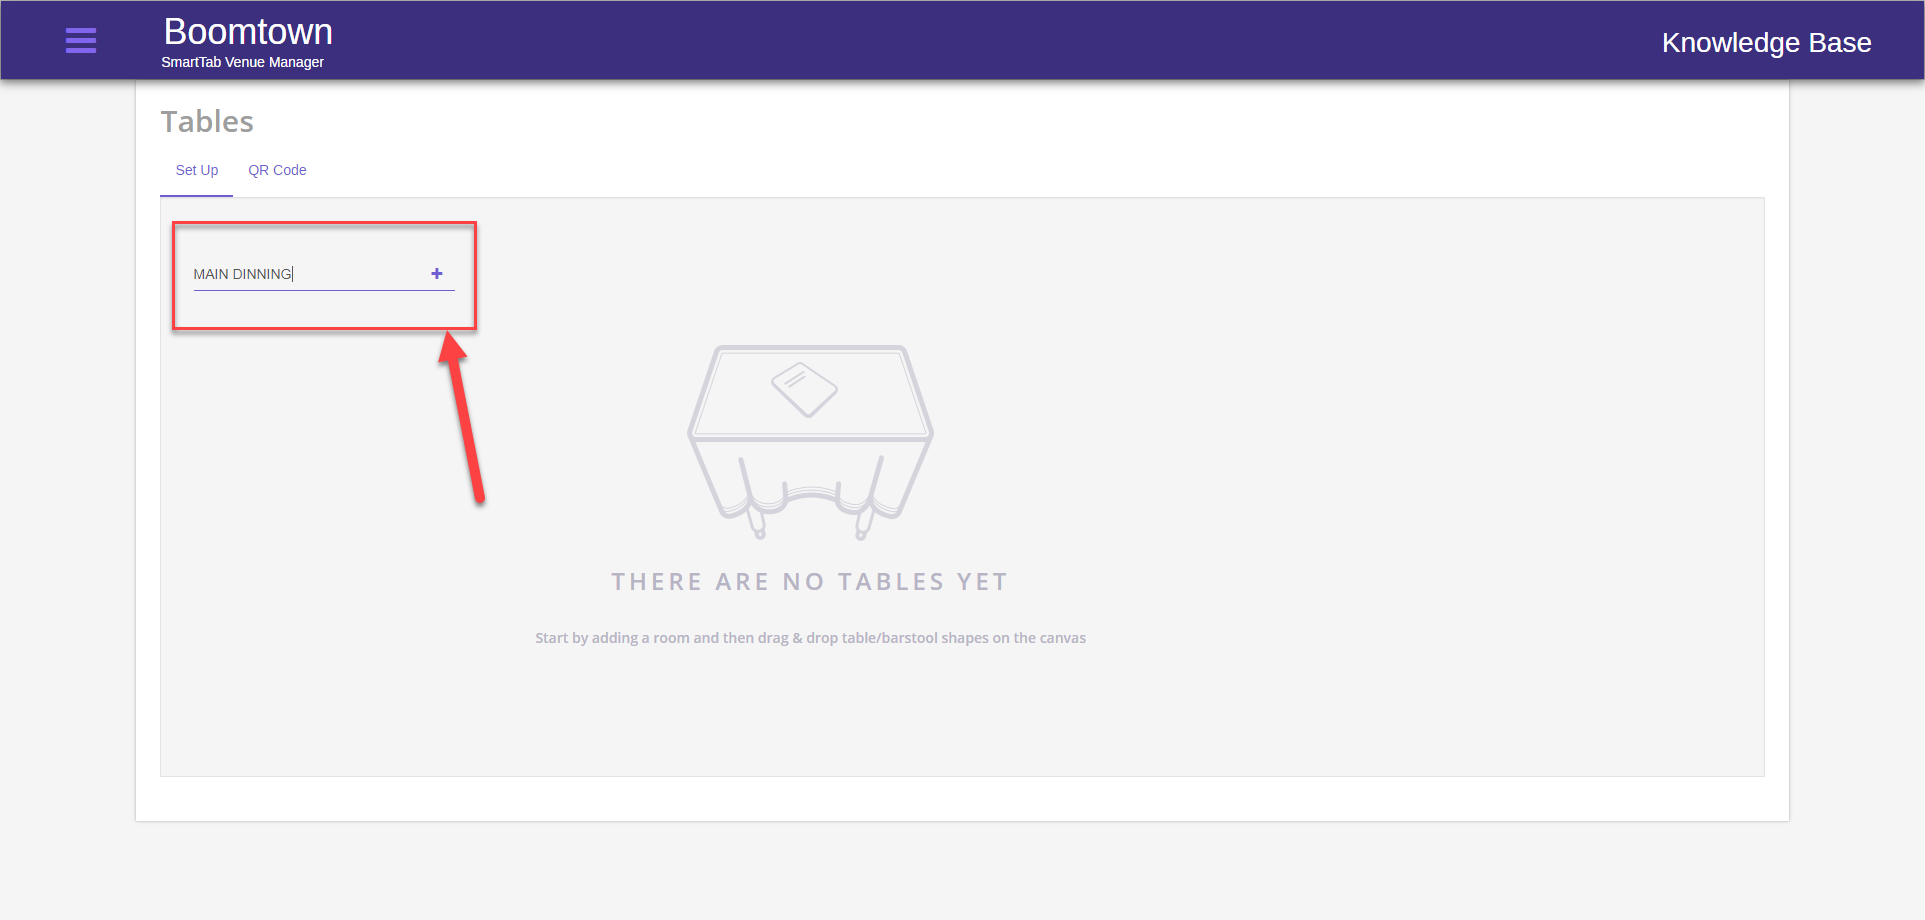
Select Tables
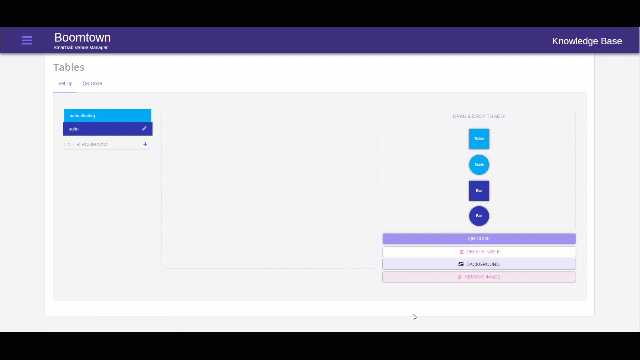
Step 4
**If you do not yet have a Room** create a room by entering a room name and pressing the “+” button
Step 5
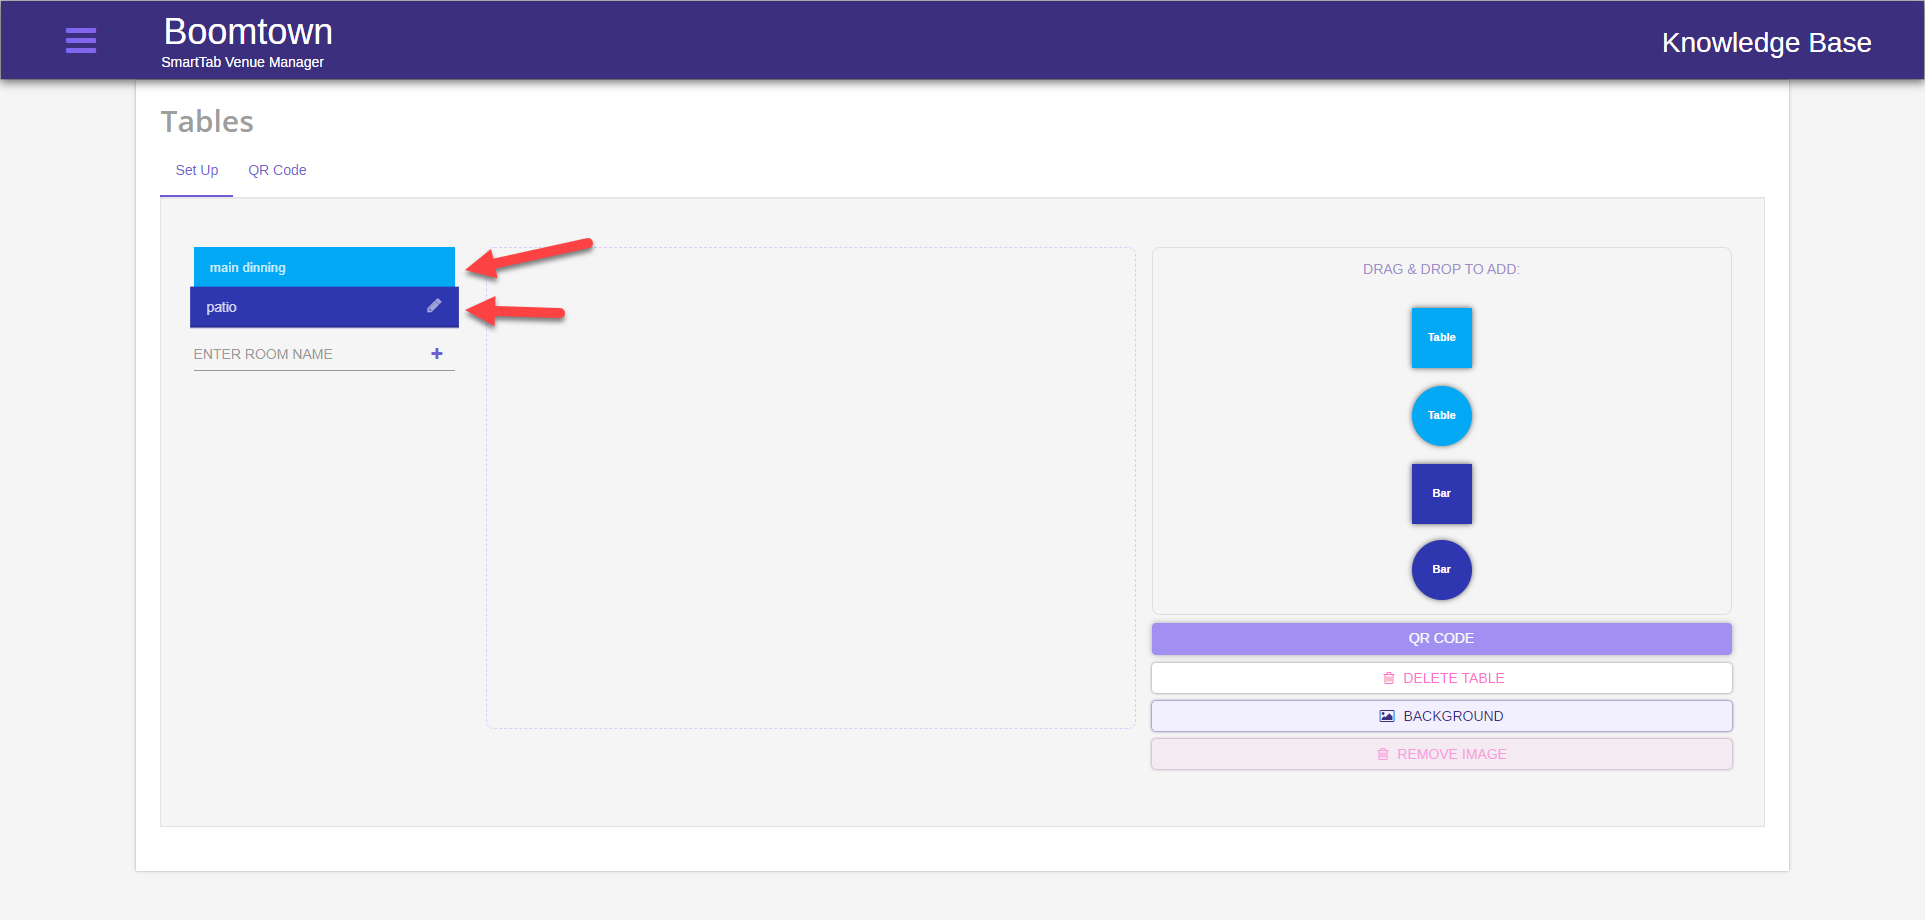
Select the room to which you wish to add tables or bars
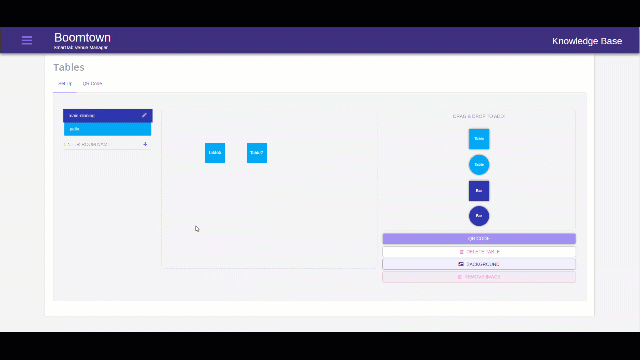
Step 6
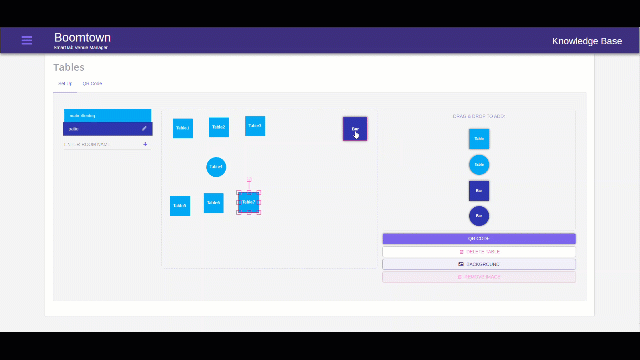
Drag and drop tables and/or bars into the room. Place them based on the physical layout or the bar/restaurant

Step 7
Resize tables/bars to better fit the physical layout of the bar/restaurant by selecting the boxes on the corners or edges of a table/bar and dragging to size.
Step 8
You can now use the tables/bars to create and assign TABs on the POS
Adding A Background Picture To A Room
You can add a background to your Room layouts to improve the look of the room. If you have an overhead shot of your room this can make it easier to arrange the tables
Step 1
Log into the Back-end Portal (URL varies by merchant)
Step 2
Select the Hamburger menu on the top-left
Step 3
Select Tables
Step 4
**If you do not yet have a Room** create a room by entering a room name and pressing the “+” button
Step 5
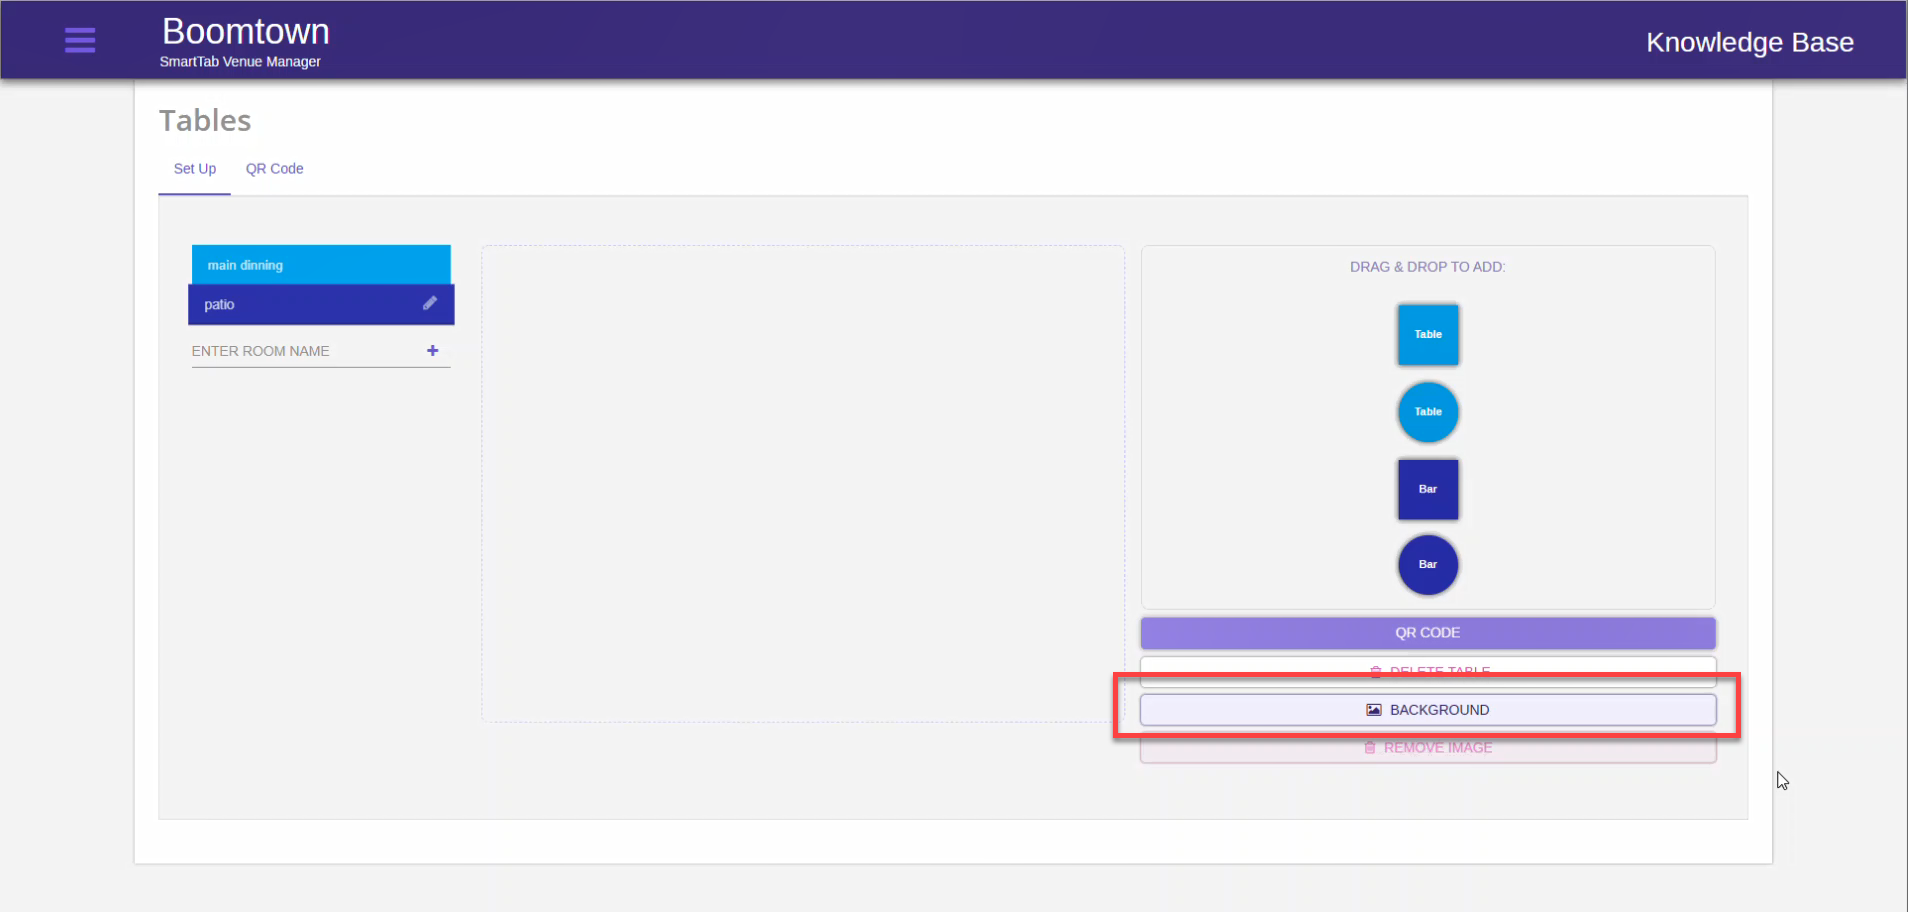
Select the room to which you wish to add a background

Step 6
Click on BACKGROUND
Step 7
Browse for the Photo you wish to use as a background. Select the photo and press OPEN.
Step 8
The background will load. Arrange tables/bars as desired
Get A Table QR code To Order From Table/Bar
Prerequisite: In order to Get a QR Code for table ordering you must first have a Room with Tables in it
There are 2 options for getting Ordering QR Codes for tables/bars. Select your option below:
Generate From Individual Table/Bar
Step 1
Log into the Back-end Portal (URL varies by merchant)
Step 2
Select the Hamburger menu on the top-left
Step 3
Select Tables
Step 4
Select the room for which you wish to get the QR Code
Step 5
Select the Table/Bar for which you want the QR Code
Step 6
Click the QR Code button
Step 7
A QR Code will generate
Step 8
You can now print or download the QR Code for that table
Generate Multiple Table/Bar QR Codes
Step 1
Log into the Back-end Portal (URL varies by merchant)
Step 2
Select the Hamburger menu on the top-left
Step 3
Select Tables
Step 4
Select QR Code from the Top
Step 5
Generate or assign QR Code
-
- To assign a QR Code
- Select ASSIGN next to a QR Code
- Select the table/Bar from the drop-down
- Click outside of the QR Code dialogue to exit
- To Generate QR Codes
- Select CREATE IN BULK
- Select CREATE next to “Create QR Codes for all tables without QR Code” or “Create QR Codes for all tables”
- The QR Codes will generate
- To assign a QR Code
Step 6
You can print or download the QR Code for All Tables/Bars
