Prerequisite: This function is completed from the back-end web URL
A user looking to change this setting will need the username and password to login into the back-end URL of their venue.
Step 1
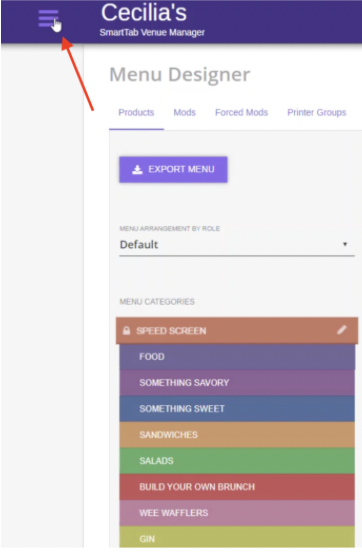
Click on the Hamburger menu in the top left of your web browser
Step 2
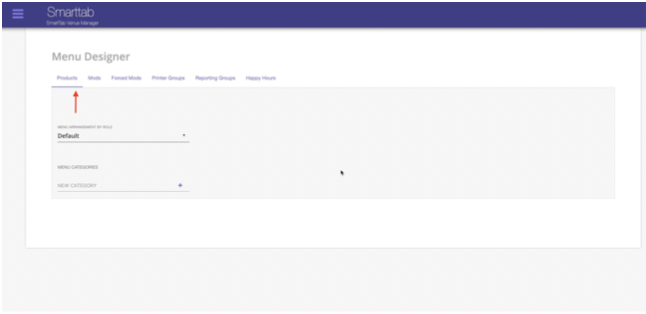
Navigate to the “Menu Designer” link and select “Products”
Step 3
Type in the menu category names as needed
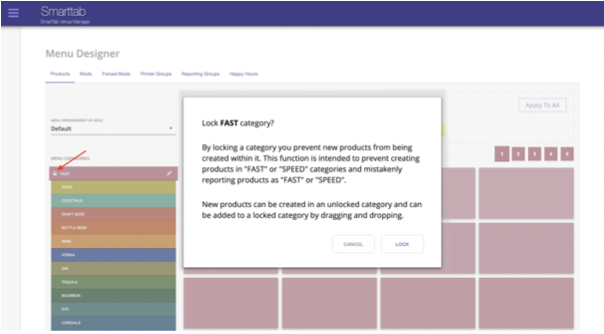
Step 4
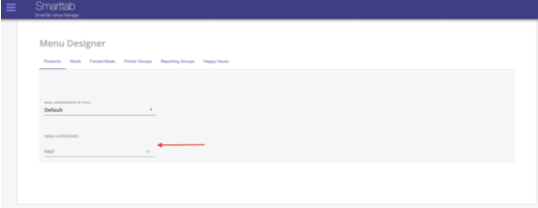
Lock the category names by clicking the lock icon and selecting “Lock” on the pop-up window. Note: Each day on the sales reports items will be broken down by category name.
Step 5
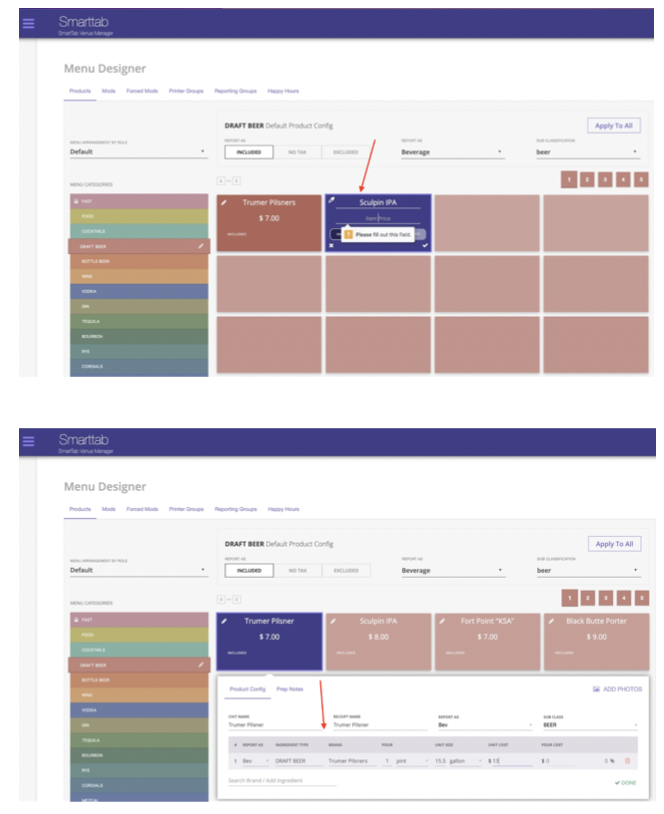
Select a category for setup, you will need to start by setting up the tax rules, how you’d like to report products, and sub classifications.
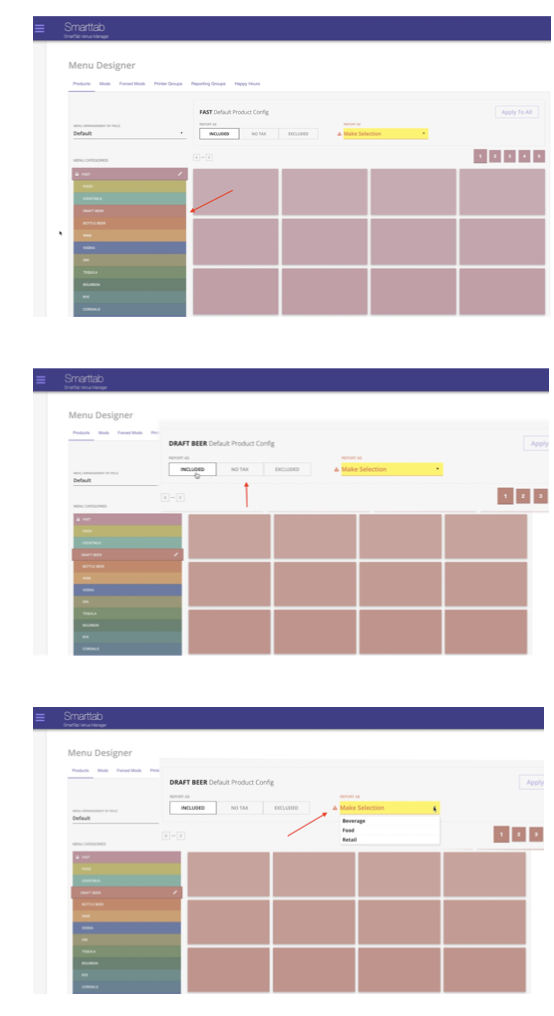
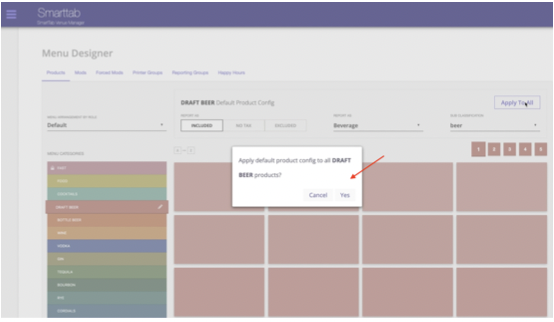
Step 6
On the top right of your screen click on the “Apply to All” button and select “Yes” on the pop-up window when prompted. This will allow all items in category to be reported as a Beverage, Beer, and Draft Beer.
Step 7
You can then proceed to add in products and price. If you click on a tile you will be able to check the product configuration and edit cost/pour/unit size/pour cost/unit cost.